General
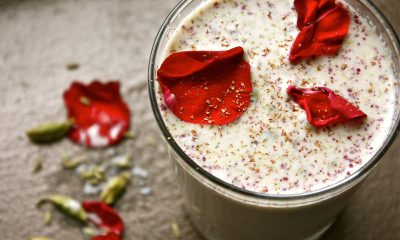
How to make coconut milk at home
Solutions:
- Combine the coconut and hot water in a blender: Empty the package of finely shredded coconut into the blender. It may seem like a lot of coconut, but it is just enough to get the job done. Measure out four cups of very hot water (near boiling) and pour it directly over the coconut shreds.
- Allow the mixture to rest: Let the coconut and hot water sit in the blender for a few minutes to give the coconut time to soften before continuing onto the next step.
- Blend the mixture: Blend on high for 1 to 2 minutes until the coconut is pureed and the mixture looks milky. You will still have flecks of coconut in the mixture.
- Pour the mixture into a nut milk bag: Open the nut bag and arrange it inside a medium-sized mixing bowl. Pour the coconut mixture from the blender into the nut milk bag.
- Squeeze out the coconut milk: Cinch the nut bag shut. Take the bag in both hands and squeeze it out over your mixing bowl. The finished milk should easily pass through the bag. Continue to squeeze and wring out your bag until you’ve extracted as much of the milk as possible. You can discard or compost the leftover coconut pulp in the nut bag; if you have a dehydrator, the pulp can be dried and used as coconut flour.
- Bottle the coconut milk: Transfer the coconut milk into a storage vessel of your choice, like large mason jars, swing top jars, or other air-tight container. Store in the refrigerator until using.
- Storing and using homemade coconut milk: This milk can be used right away, stored for up to four days in the refrigerator in an airtight container, or frozen for up to 3 months. Your coconut milk will separate after being refrigerated (or when thawed after being frozen) — this is normal! Just give it a good shake and it should be ready to use. Use homemade coconut milk as you would any other coconut milk.


Press Release2 years ago
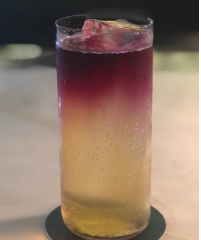
Elevate your Father’s Day celebration with a Sophisticated Highball Night in with your Dad
Elevate your Father’s Day celebration with a Sophisticated Highball Night in with your Dad Father’s Day is a time to...


Press Release2 years ago
Sip, Savor, Repeat: Monkey Bar’s Summer Cocktails
Sip, Savor, Repeat: Monkey Bar’s Summer Cocktails Bangalore, May 2024: Get ready to sip your way through summer with Monkey...


Press Release2 years ago
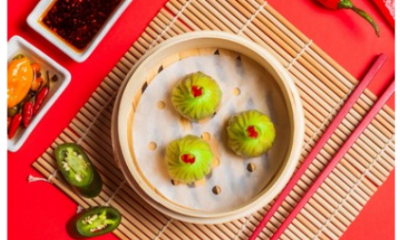
Tuk Tuk – The Night Noodle Market at The Fatty Bao
Tuk Tuk The Night Noodle Market at The Fatty Bao Bengaluru, Karnataka – 2nd April, 2024 – Mark your...
Press Release2 years ago
Which mangoes are coming in this season? Attributed to – Team Madras Mandi
Which mangoes are coming in this season? Attributed to – Team Madras Mandi India accounts for a staggering 50% of...

Press Release2 years ago
Spicing it up! : Foo’s Fiery Edit Menu Is Back
Spicing it up! : Foo’s Fiery Edit Menu Is Back Get ready to turn up the heat with Foo’s much-awaited...