Kitchens
Your Guide To Growing An Organic Kitchen Garden
Unless your money grows on trees or your idea of a conversation is bargaining with the vegetable hawker, a kitchen garden is an ideal solution for all your veggie woes. All it takes is a little investment, some dedication and a few minutes from your daily routine. So let’s get digging!
-
Plan
Just like any other project, building a kitchen garden too requires proper planning. So pick up a paper and pencil and plan out your space.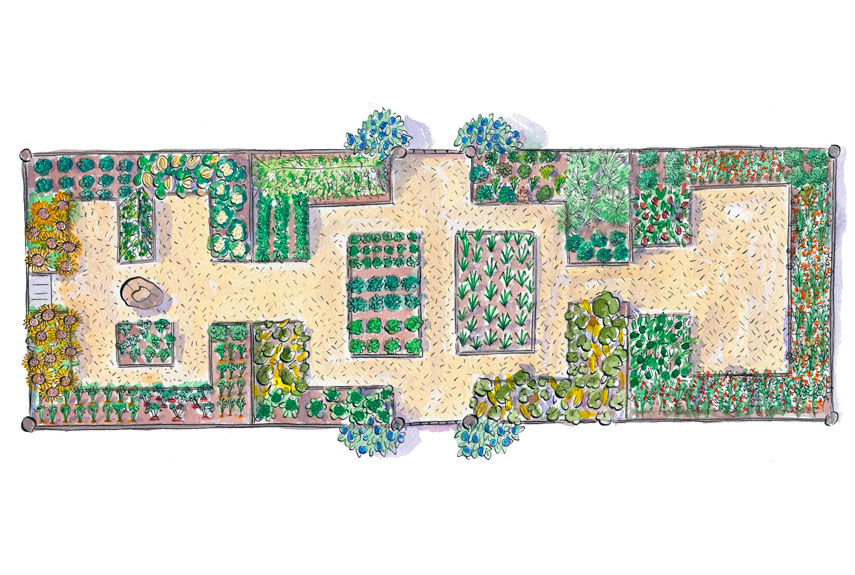
-
Prepare
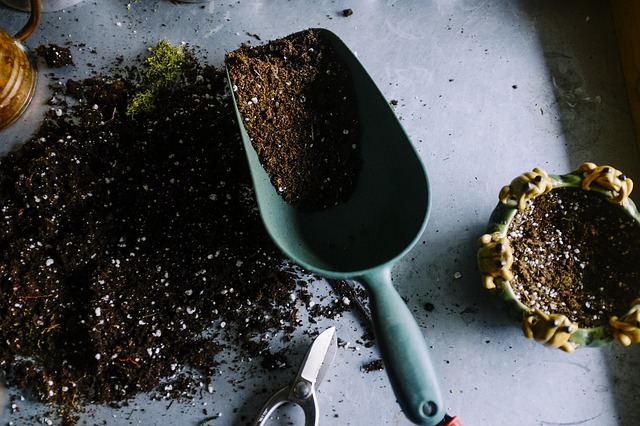
In order to obtain the best produce from your organic garden, make sure that your soil is healthy and well conditioned. The best way to check for quality is by getting the soil examined. You can either do this by getting a home testing kit or sending a sample to the nearest agricultural lab or office.
If you don’t have the time for the examining, simple make sure the soil has plenty of humus (the organic mater, not your pita’s partner).
-
Compost
This is your soil’s conditioner and food. Now you could either buy some or be economical and make some on your own. Here’s what you do:
- Separate a space approximately 3 ft sq, your compost will pile up here.
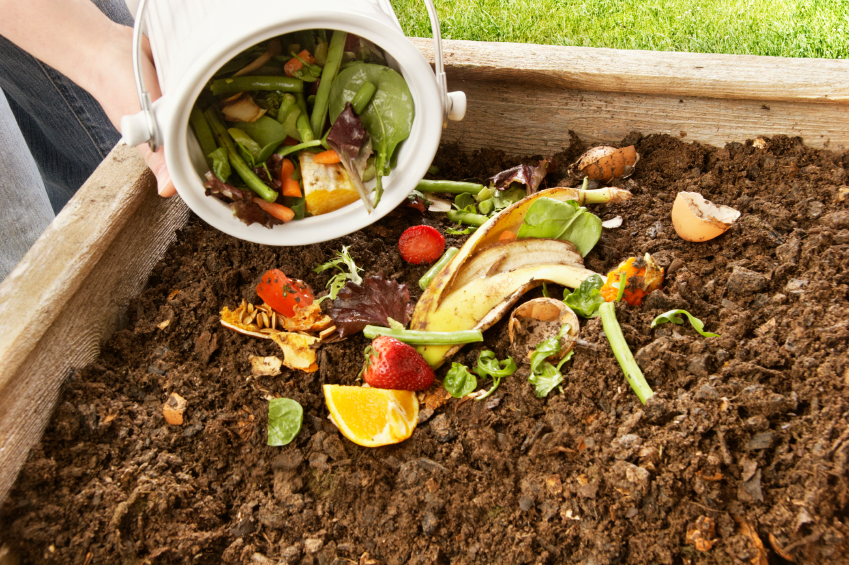
- Stack alternating layers of carbon (or brown) matter – garden trimmings, leaves, etc – and nitrogen (or green) matter – manure and kitchen scraps – with a thin layer of soil in between each layer.
- Top off the heap with 4”-6” of soil.
- Aerate the pile (by turning) and add just about enough water to keep the pile moist and you’ll end with homemade compost in about 2 months (or more if it’s colder).
- TIP: Compost piles usually don’t have a foul smell but if yours does, add more dry brown matter and turn it frequently.
-
Select
Finally we come to the plants. Pick out your plants carefully keeping in mind the kind of soil you have and most importantly the weather in your area and the season.
-
Plant
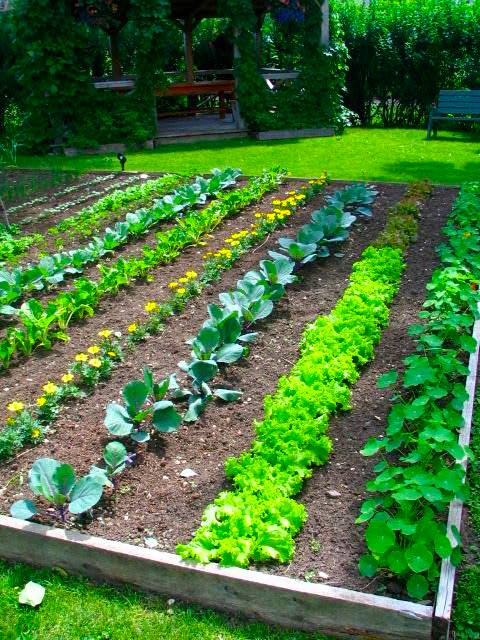
It is advisable to plant the seedling in wide spaces. Cutting flowers and vegetables should be grouped tightly in beds as grouping reduces wastage of water and weeding as well. The space left between the rows is excellent for air circulation and keeps fungal attacks at bay.
-
Water
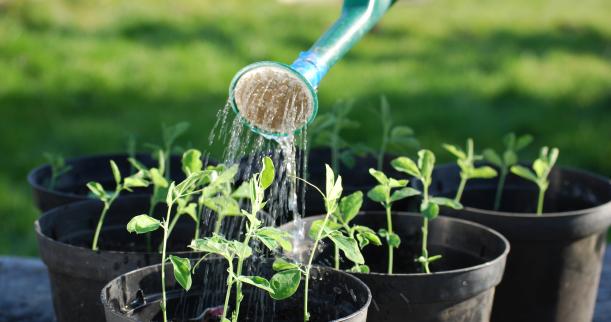
The ideal time to water you plants is the morning. This is because mornings are cooler and lack strong winds that may lead to evaporation. On the contrary, watering the beds during the evening will leave your plants damp overnight, causing bacterial or fungal damages.
-
Weeding
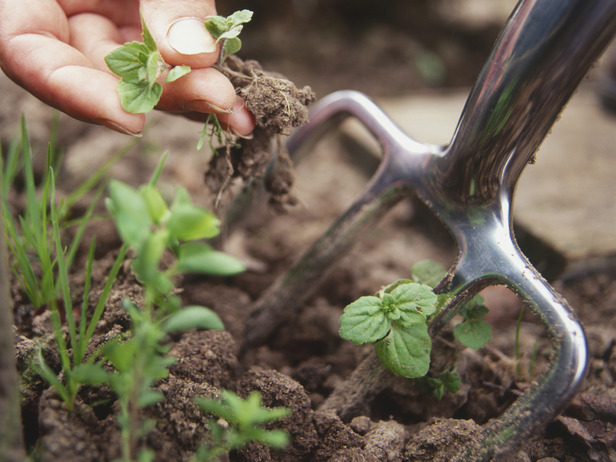
Pouring or spraying designated chemicals can avoid usually weeding but we’re going organic so let’s keep those cans away. The best and healthiest (for you and the plants) way is to pull out the weeds by hand.
You could reduce (not completely remove) weeds by applying mulch – a layer of material applied to the surface of an area of soil to conserve moisture. The good news? There is organic mulch available in the market! You could also opt for straw, burlap, wood chips or lawn clippings. Although straw doesn’t last long, wood chips are a tad expensive and clipping are high in nitrogen content so are suitable only for plants that require lots of nutrients like squash and lettuce.
-
Protect
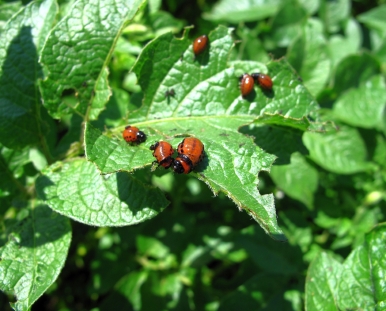
Keep unwanted pests at bay without use of pesticides. Yes, that is possible. Here’s how:
- Make sure your plants get enough nutrients, light and moisture to limit pest invasion.
- Some visitors like frogs, birds and even bats are beneficial so make their visit a bit welcoming. Leave out some water or grow plants with small blossoms like dill to attract these friendly pests.
- Fight off all unwanted insects and pests using organic artillery like Bacillus thuringiensis, a naturally occurring bacteria that disrupts the digestion of leaf-eating pests. Other weapons include horticultural oils, insecticidal soaps and garlic and/or hot pepper sprays.
-
Harvest
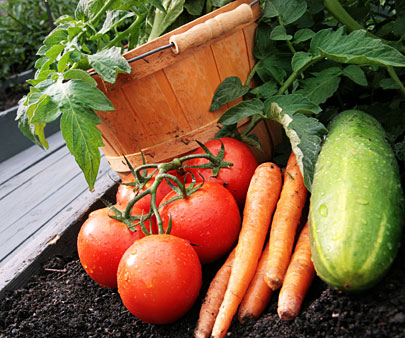
The last but most important step, enjoy your hard work! Pick out the plants during peak harvest season or use fresh herbs off your garden pots. Eat, gift and make merry!

