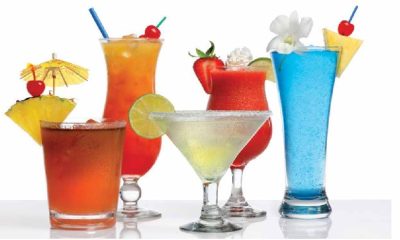
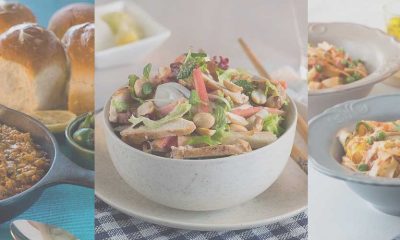
Food Blogs
12 Tips To Take Great FoodGrams For Instagram
Ever saw an amazing picture of food on your Instagram feed and thought, “Wow, that is photography at it’s best right there.” Well, it probably was but did you know you could do it too? That’s right, you could be the one behind the lens capturing some drool-worthy moments too! These tips will definitely come in handy for some oh-so-amazing foodgrams.
1. Natural light, please!

Always use natural light. Always. You can never go wrong with natural lighting. Try to avoid those yellow tones from your lightbulbs and stay away from the flash button on your camera!
2. Go all out with angles!
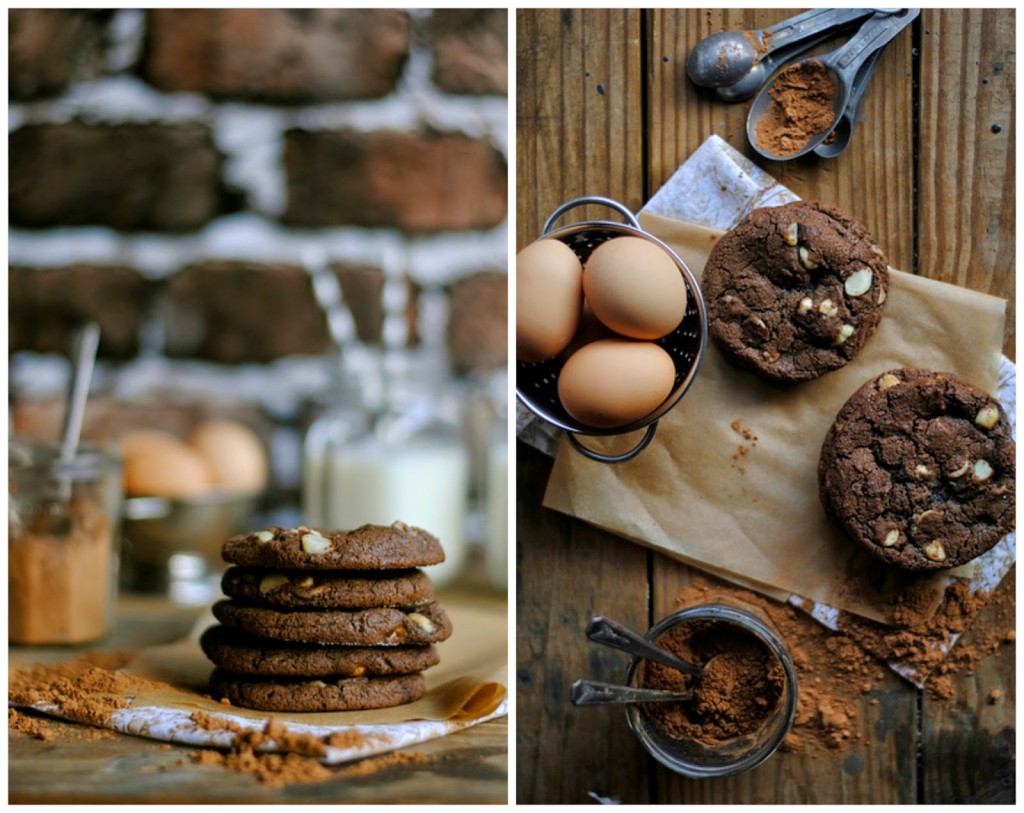
Try to get pictures from as many angles as you can. You never know, some angles may really work well depending on the colors and lighting so go ahed and move around a bit.
3. Take as many shots as you can.
Nothing wrong with getting a few extra shots. You can pick the winner from the bunch.
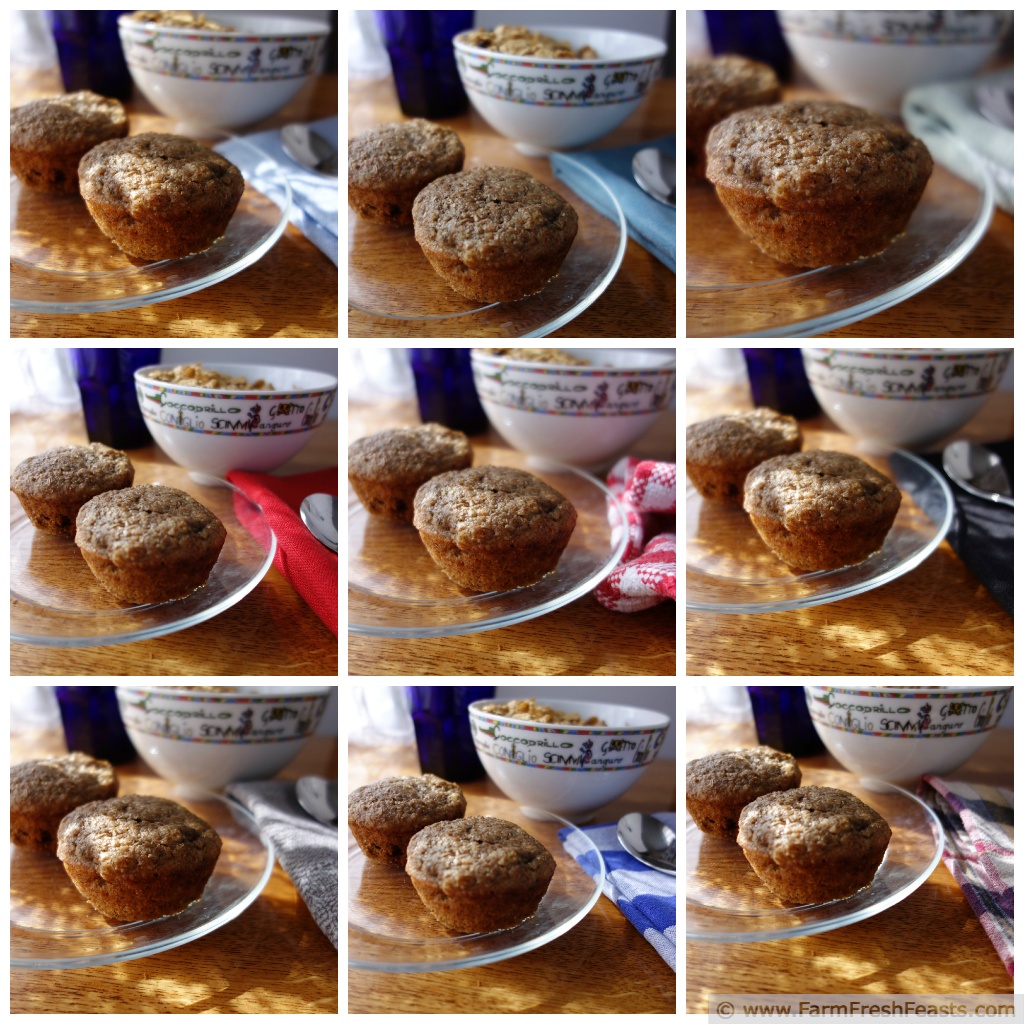
4. Keep things simple.
Make sure you don’t have too many objects lying around that would distract the focus. Sometimes, even table accessories like napkins or cutlery may have colors that don’t blend with the food too well.
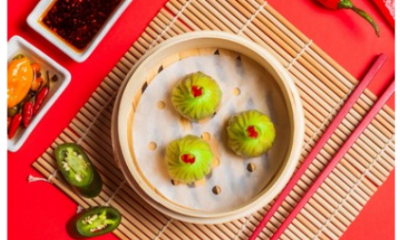
5. Props can be everything!
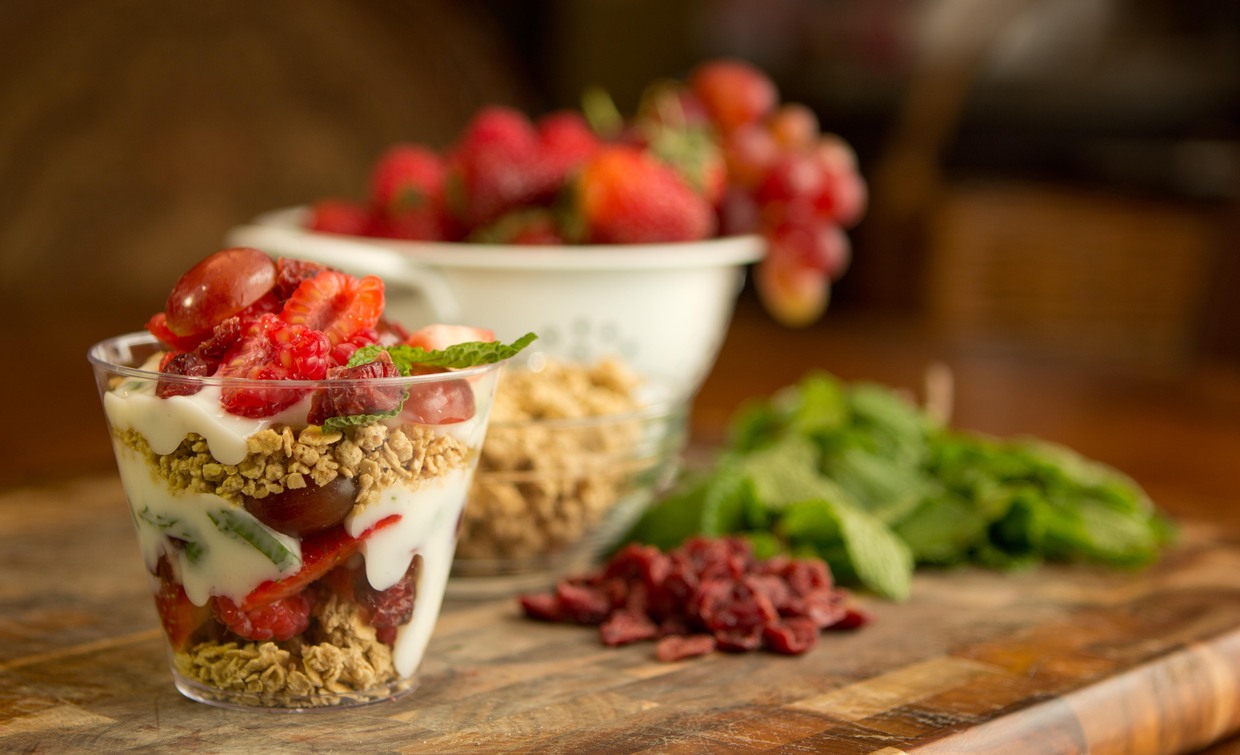
If you have some raw ingrdients lying around, especially fresh and bright produce, use them. They enhance the picture visually when placed around, behind, or beside the food.
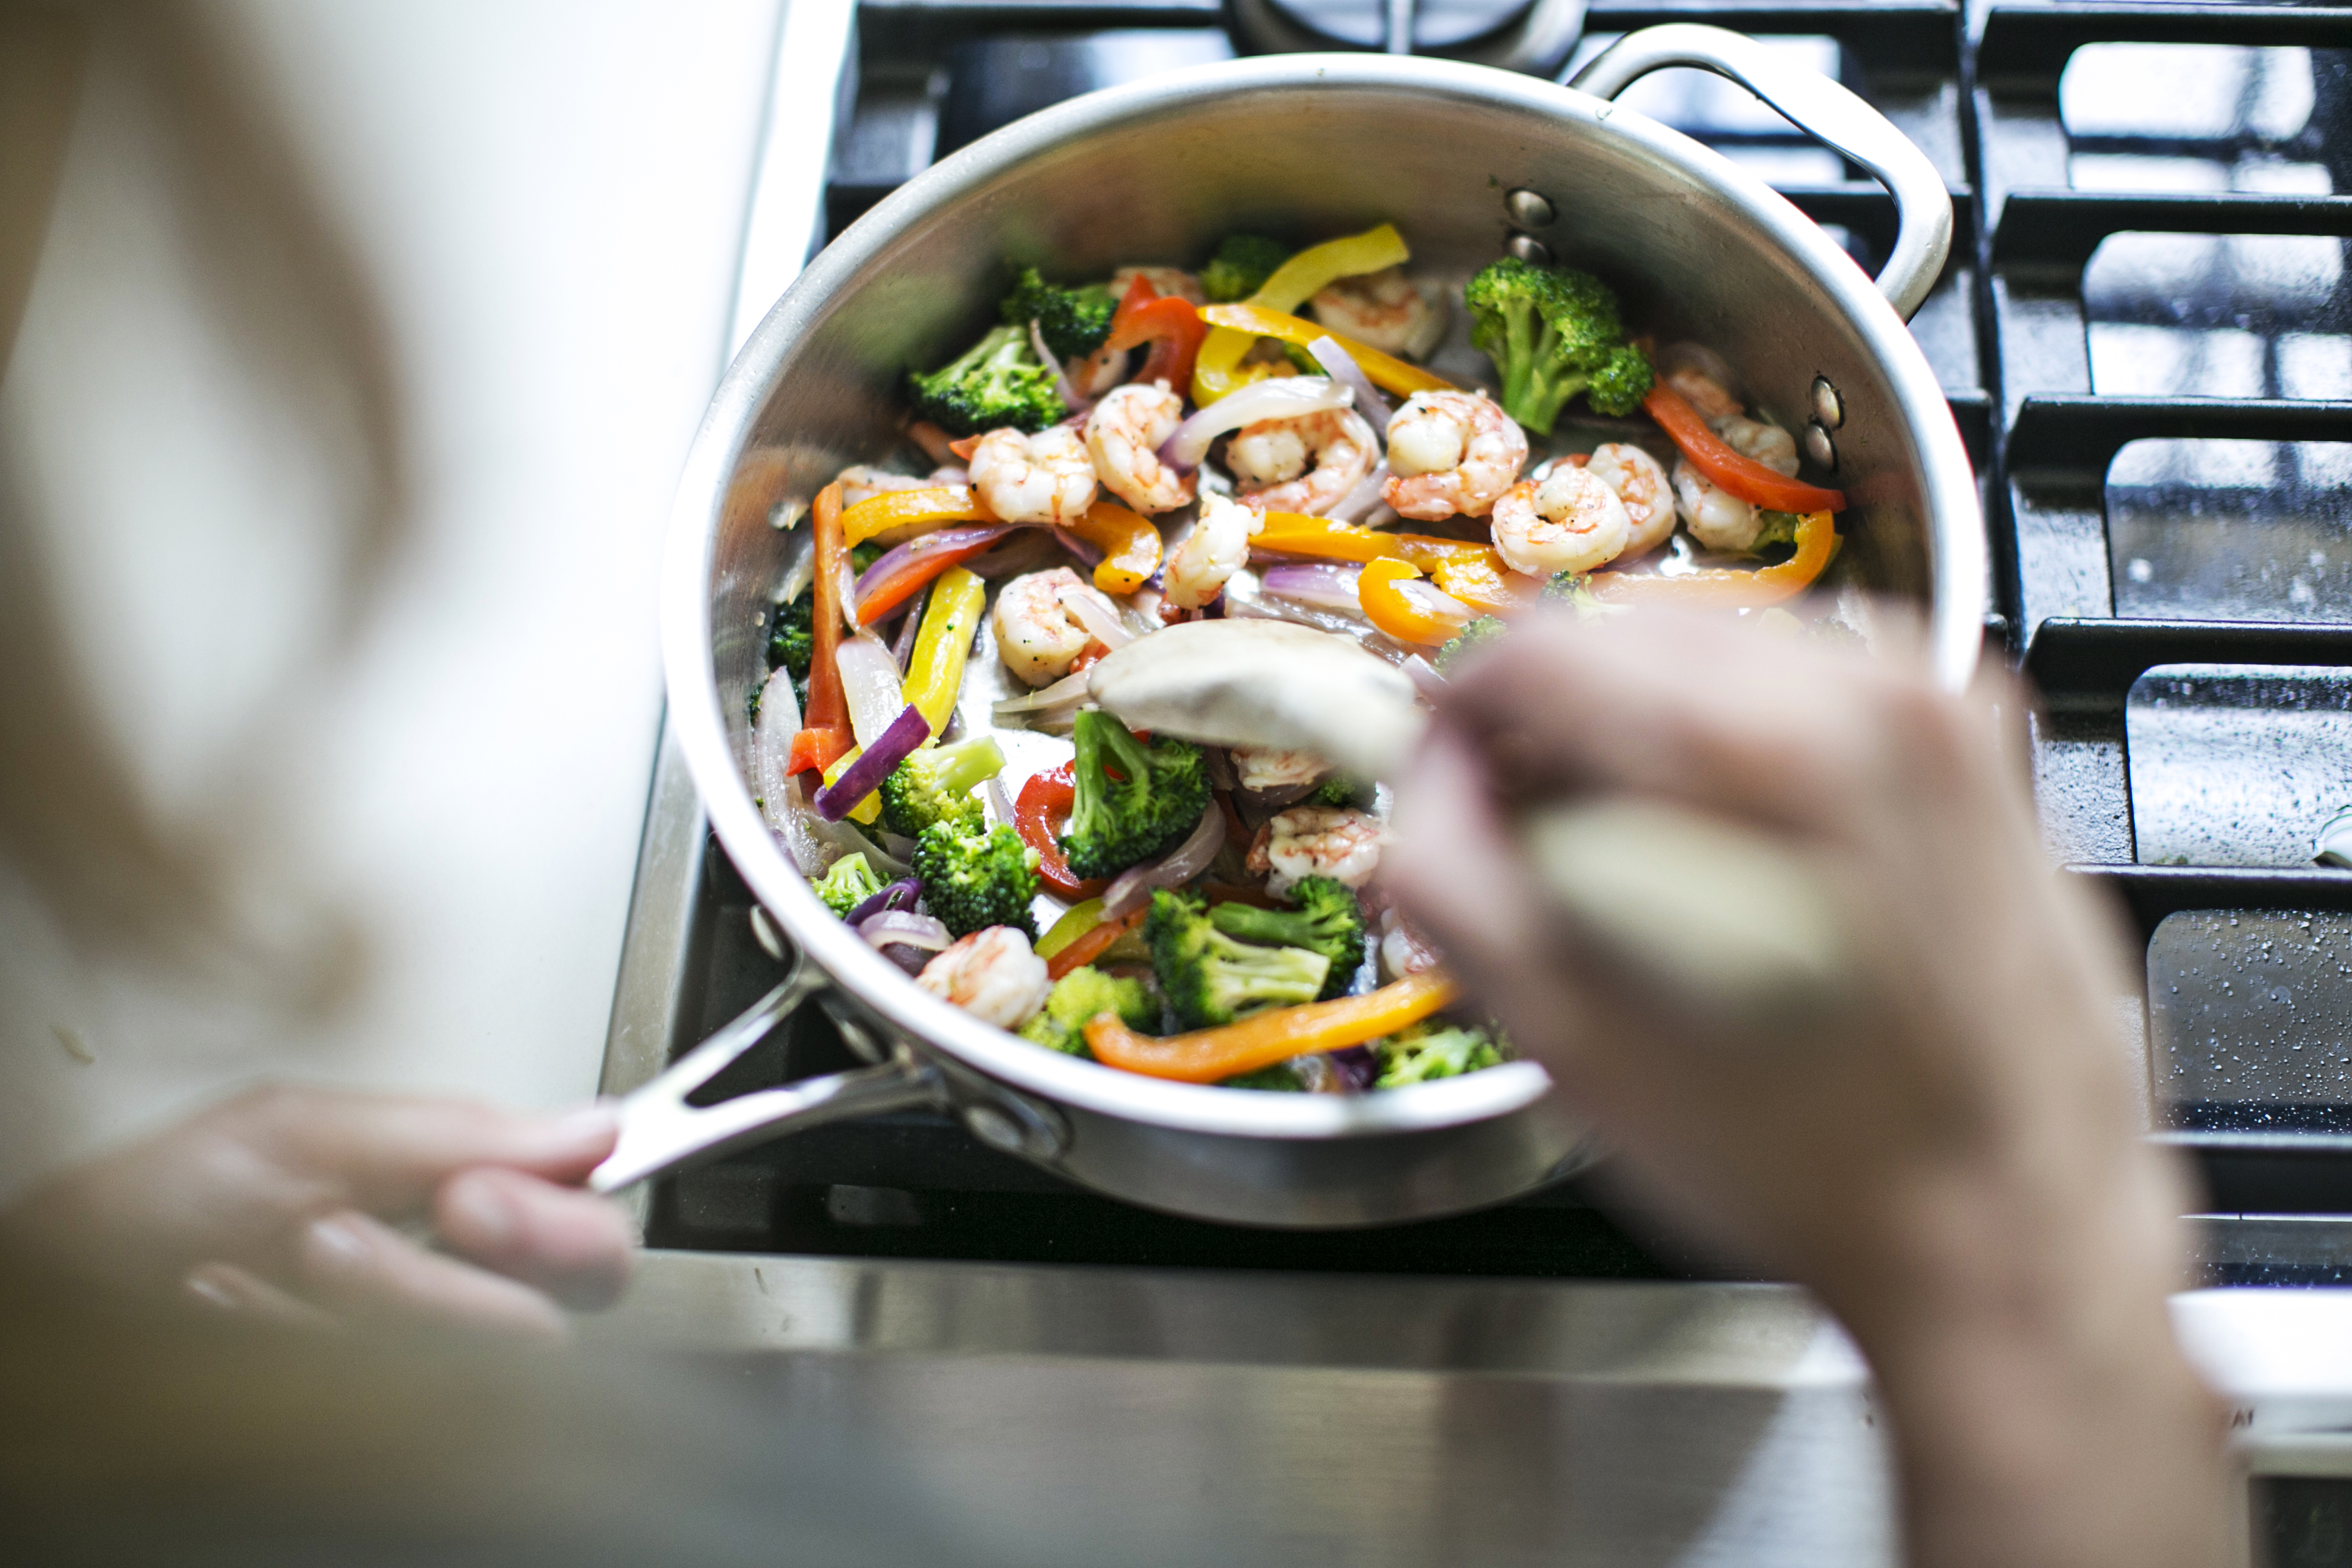
6. The cooking shot.
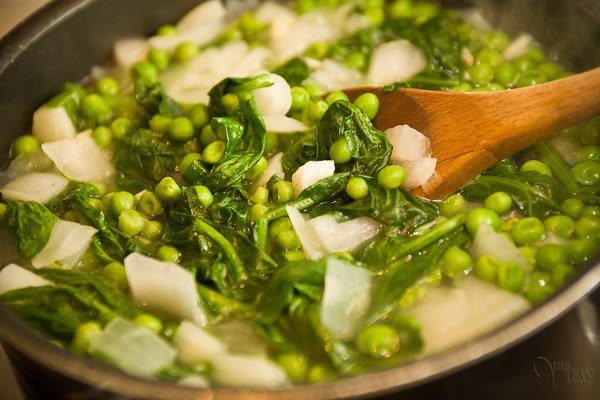
Making that delicious meal yourself? Get a shot of the process in the kitchen while its being cooked. It can sometimes be better and more visually appealing than the finished product.
7. Overcooking? Bad idea!
Again, if you’re preparing the dish your self, keep in mind not to overcook your meal as overcooked food loses its lusture, colour, and appears dull in pictures.
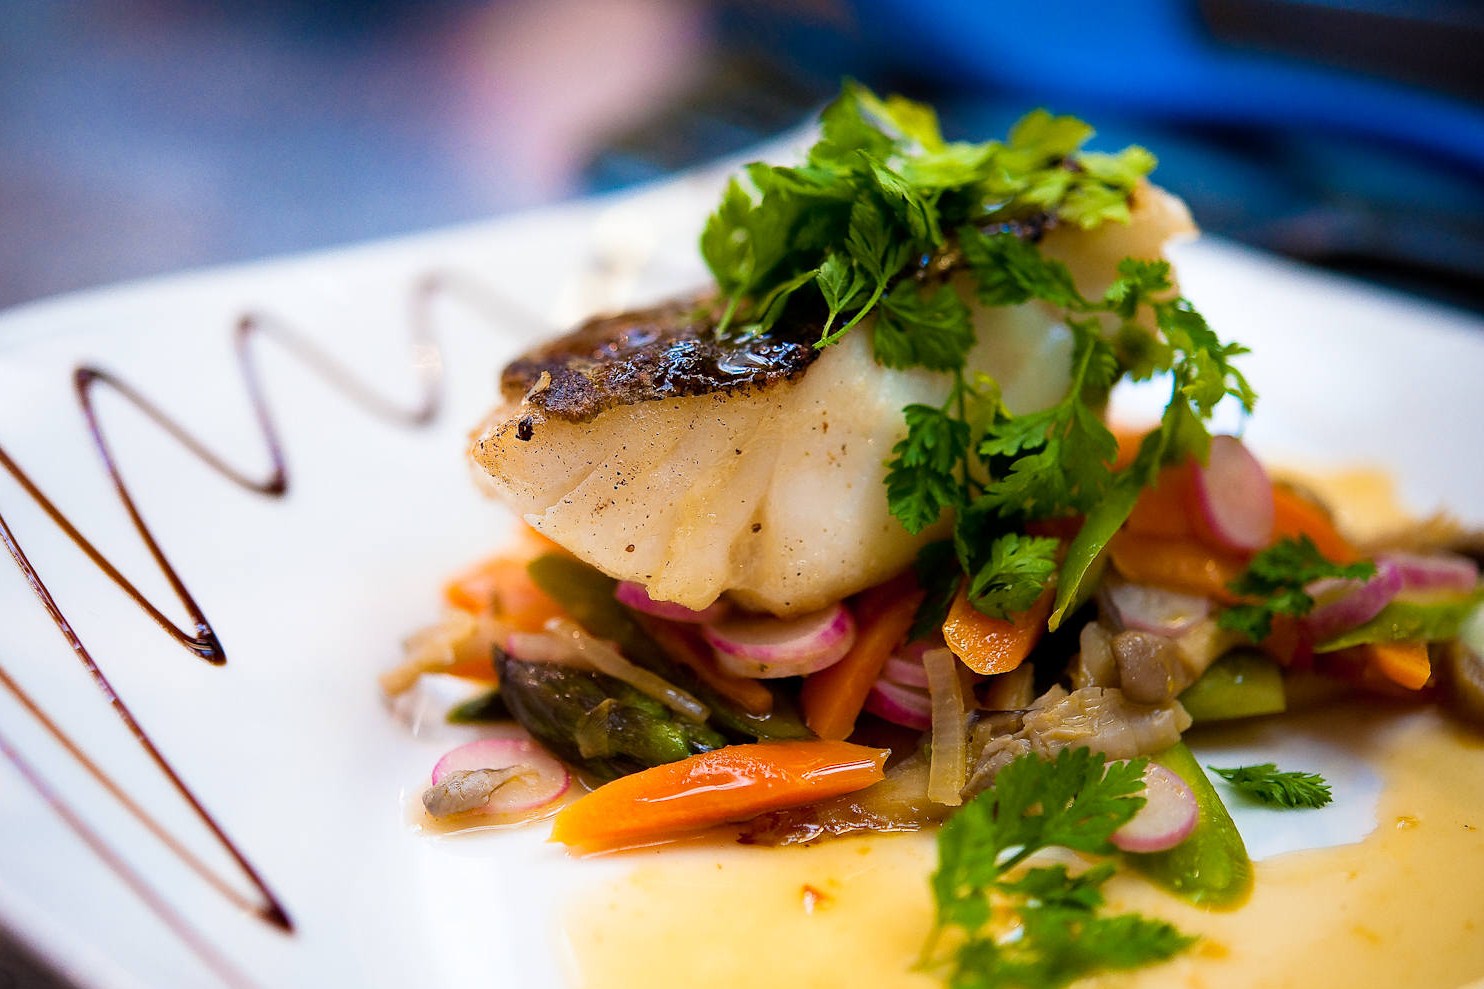
8. Clean those edges up!
You can’t have a great photo of your food unless you’ve cleaned those edges of the plate or those sides of the bowl. You know what we’re talking about, that line of gravy or sauce that touched your perfectly white plate.
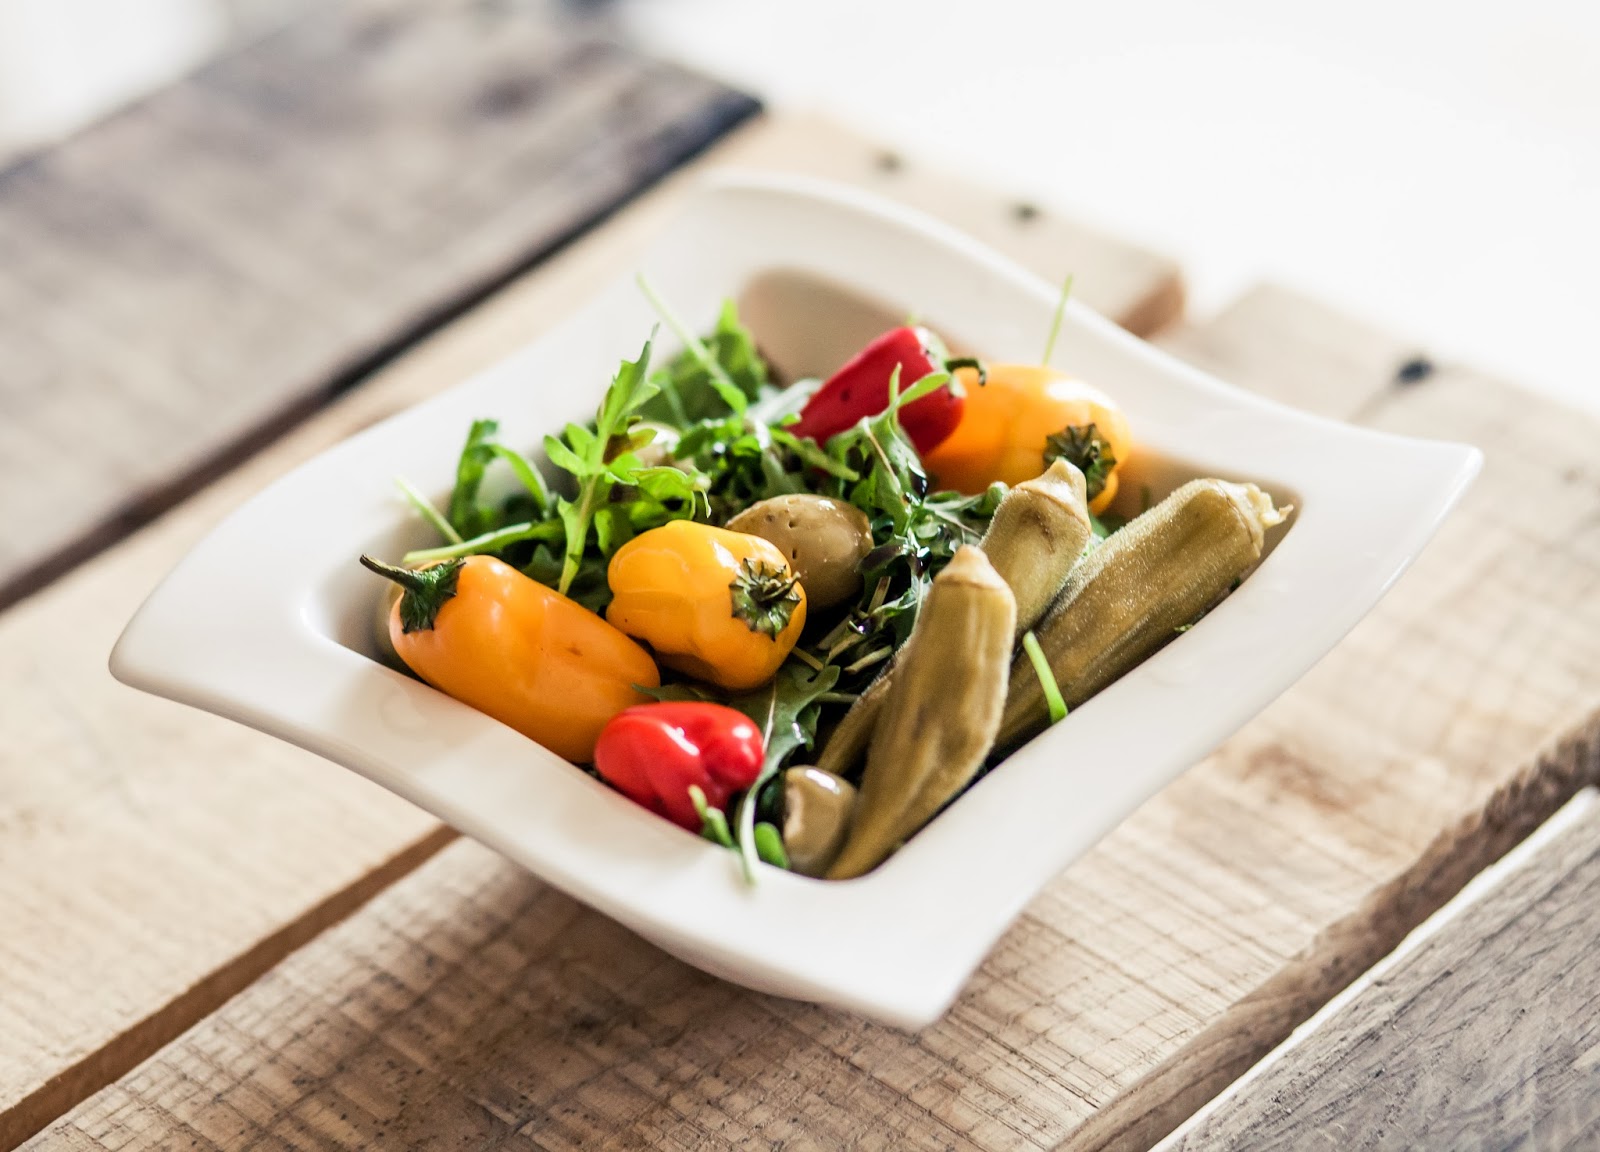
9. For some enhancing…
Veggies looking too dry? Brush them up with some oil or sprinkle some water (on salads and raw veggies) to make them look more alive. You can also garnish your dish with some of your favourite ingredients including greens.
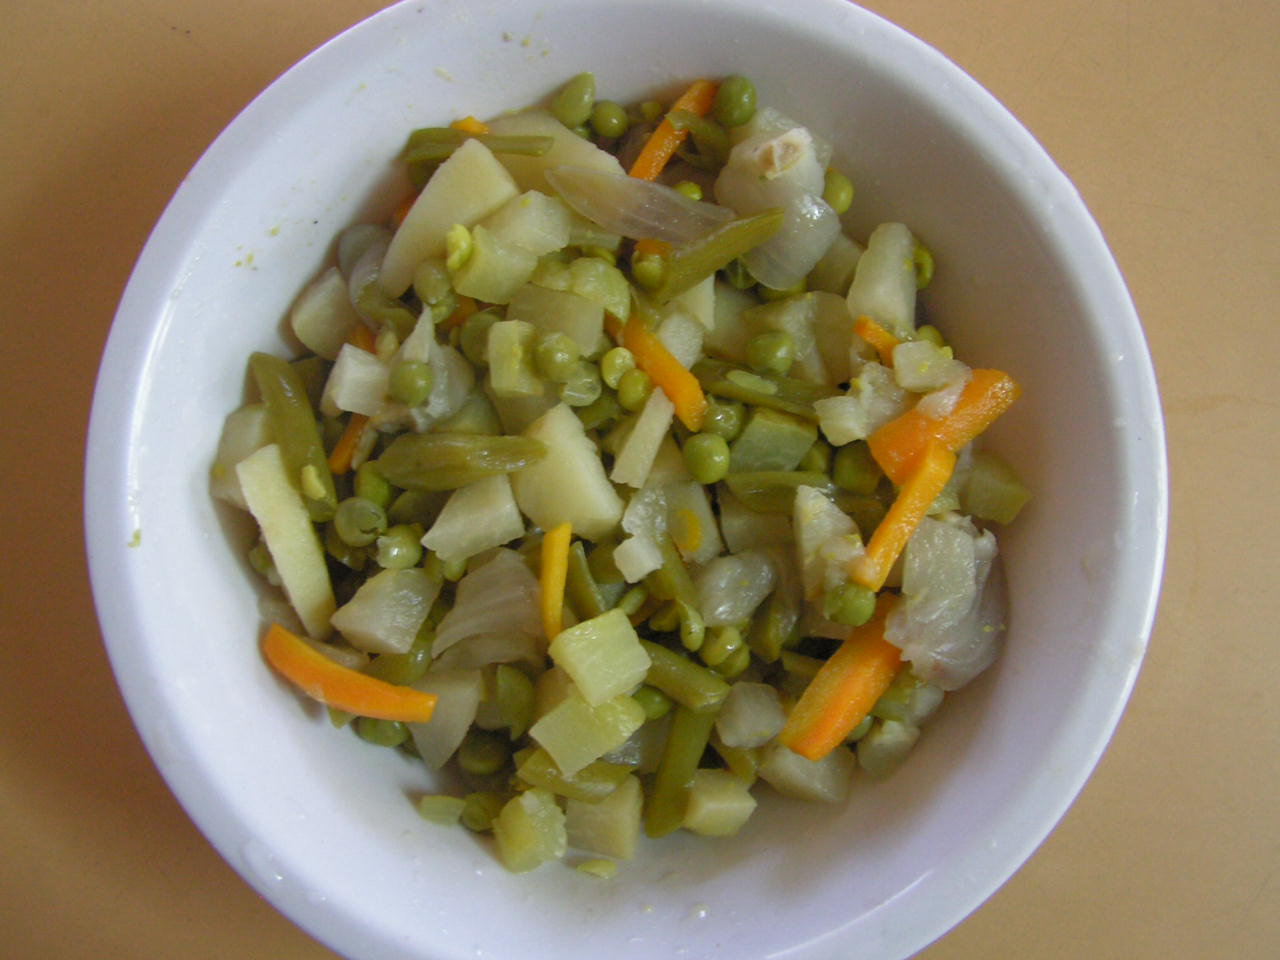
10. In the making!
Shots of raw ingredients making their way to a delicious meal can make an awesome picture. Sometimes capturing the process works well as it also gives people a feel of the flavours and food being made.
11. Stay focused!
Make use of the focus option and enhance your pictures more by focusing on the food and leaving that sublte blur for the background.
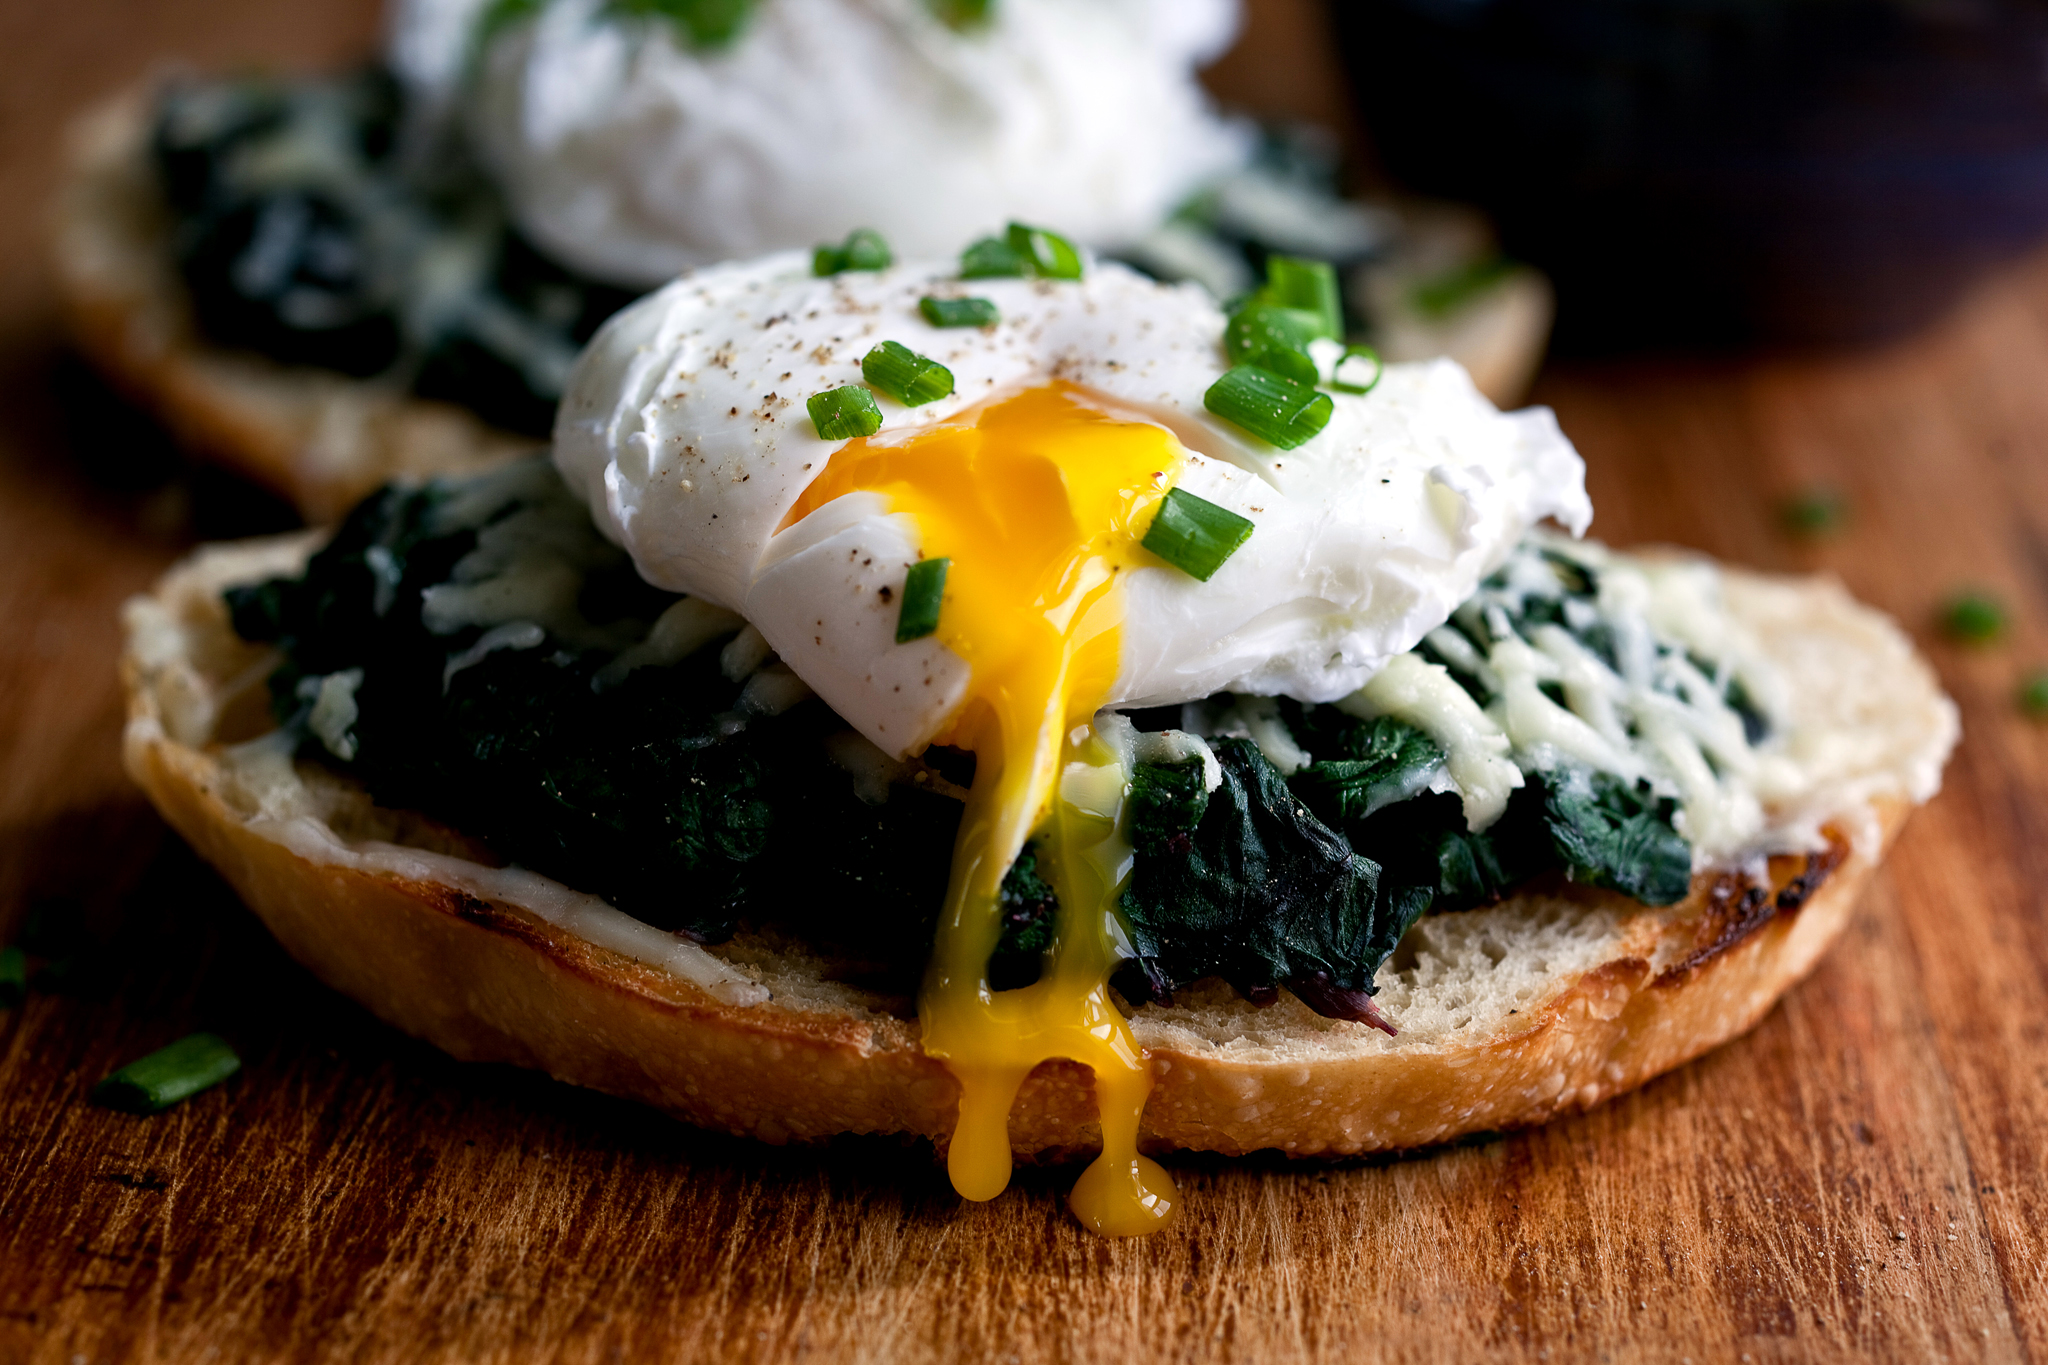
12. That first bite.
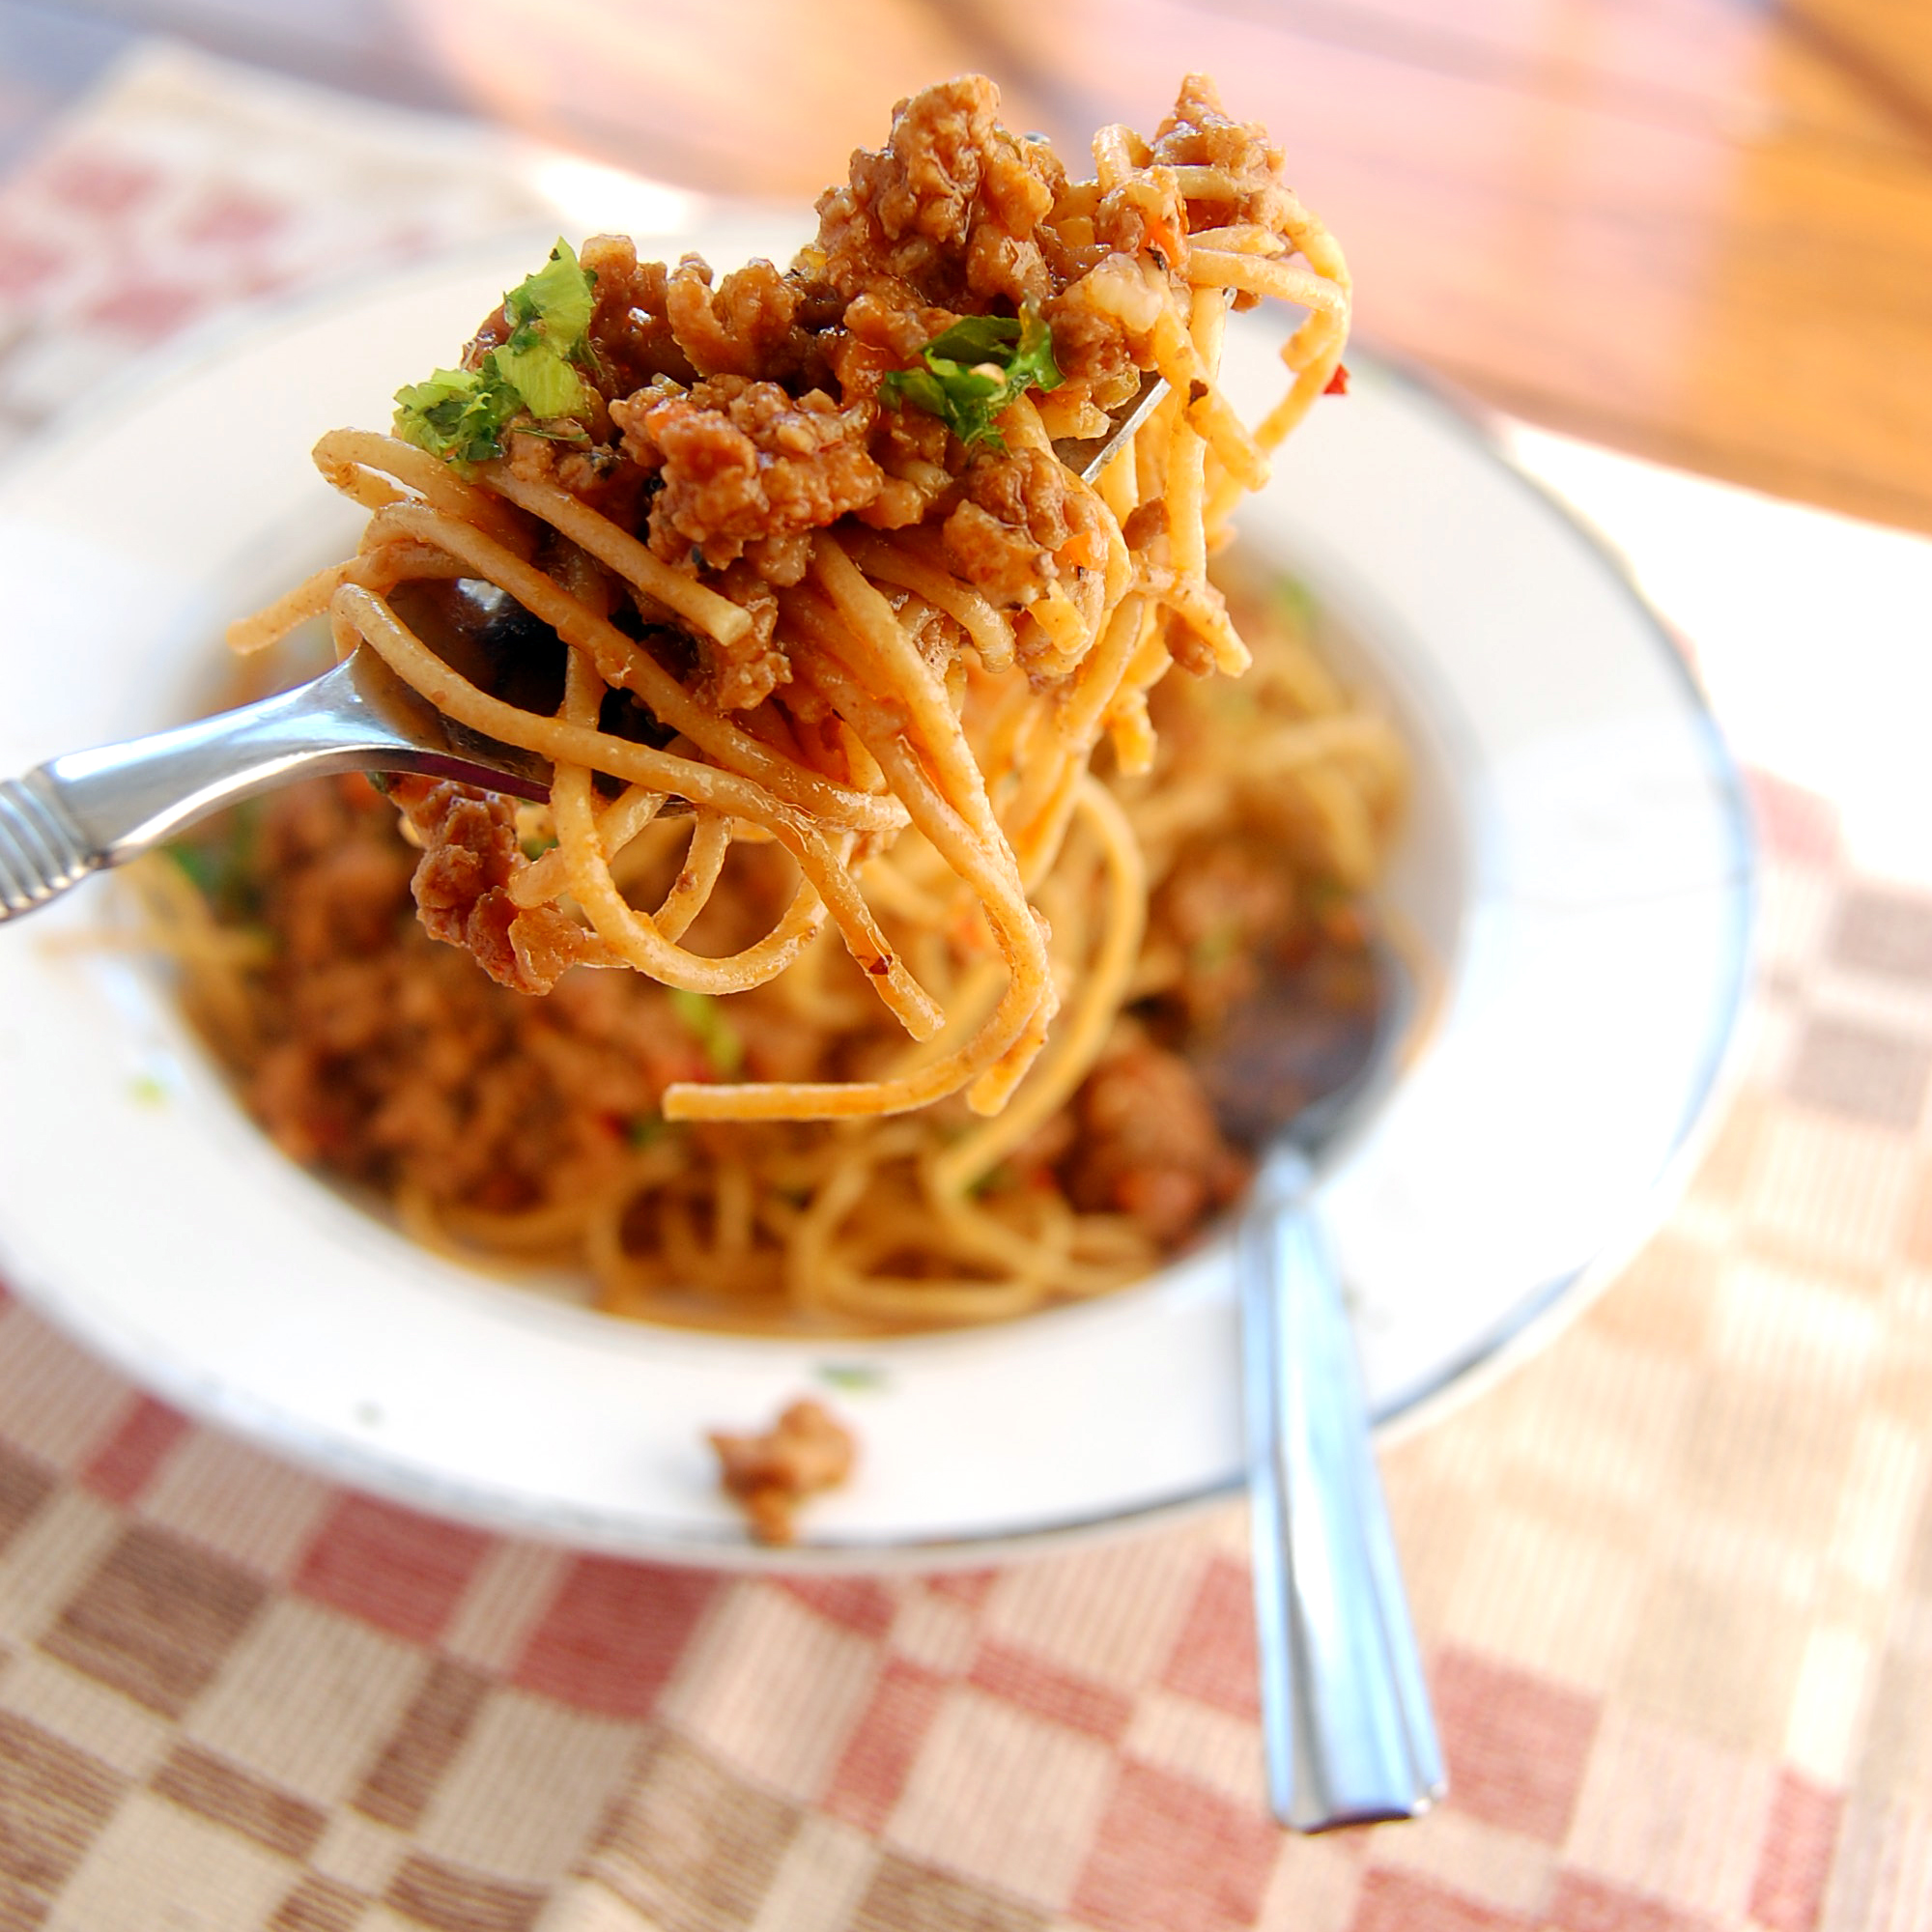
Show everyone what your food looks like at the first bite. It could be the spaghetti rolled around your fork with a hint of red sauce on it, the cake slice you just cut up being lifted off the bottom, or even that bar of ice cream that’s missing a piece (that you bit)!


Elevate your Father’s Day celebration with a Sophisticated Highball Night in with your Dad
Elevate your Father’s Day celebration with a Sophisticated Highball Night in with your Dad Father’s Day is a time to...


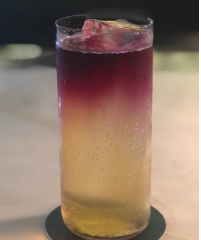
Sip, Savor, Repeat: Monkey Bar’s Summer Cocktails
Sip, Savor, Repeat: Monkey Bar’s Summer Cocktails Bangalore, May 2024: Get ready to sip your way through summer with Monkey...

Tuk Tuk – The Night Noodle Market at The Fatty Bao
Tuk Tuk The Night Noodle Market at The Fatty Bao Bengaluru, Karnataka – 2nd April, 2024 – Mark your...
Which mangoes are coming in this season? Attributed to – Team Madras Mandi
Which mangoes are coming in this season? Attributed to – Team Madras Mandi India accounts for a staggering 50% of...

Spicing it up! : Foo’s Fiery Edit Menu Is Back
Spicing it up! : Foo’s Fiery Edit Menu Is Back Get ready to turn up the heat with Foo’s much-awaited...